Highest Quality through Extensive Measuring Capabilities
Centricity measurement. During centricity measurement, the fiber core may deviate a maximum of 10 µm from the center point of the connector. Upon request, LASER COMPONENTS also guarantees a maximum deviation of only 5 µm. A high centricity ensures that cladding modes do not occur at the connector because that could lead to the fiber burning up.
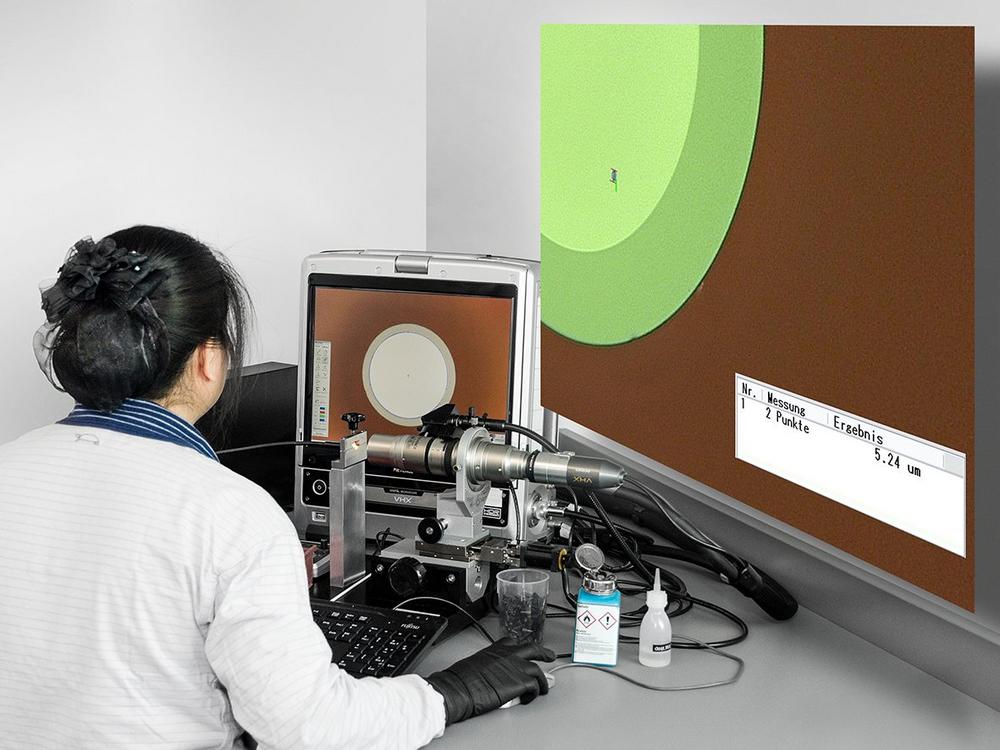
End face inspection. All fiber end faces are inspected using a digital microscope before the goods are issued and shipped. LASER COMPONENTS uses the ISO standard 10110 from laser optics production, which have been adapted to the dimensions of the fibers. This inspection is particularly important because at high optical power, even the tiniest defects can destroy a fiber.
Testing the NA. The preservation of the numerical aperture can be checked at a specially developed measuring station. This makes it possible to determine how much the beam profile changes due to transmission in the fiber. The measurement ensures that at least 95% of the outgoing light has the same beam parameters as the injected beam.
Stress test. For laser power measurement, powerful diode lasers are used to create conditions similar to those found in industrial applications. In this way, the manufacturer can test whether losses occur during transmission and whether the assemblies can withstand high stress over a long period of time.
“Quality is not just a promise for LASER COMPONENTS,” says production manager Dr. Stefan Hanf. “Our extensive measurement capabilities allow us to document for customers that the assemblies meet their expectations.”
Laser Components Germany GmbH
Werner-von-Siemens-Str. 15
82140 Olching
Telefon: +49 (8142) 2864-0
Telefax: +49 (8142) 2864-11
http://www.lasercomponents.com/de/
Marketing & Communications Manager
Telefon: +49 (8142) 2864-30
Fax: +49 (8142) 2864-11
E-Mail: presse@lasercomponents.com
![]()


